Formative Assessment
Posted: February 17, 2016 Filed under: Maker, Subject 3rd Year Leave a commentI let the blogging slide before Christmas, and I made quite a lot of work that I want to show here. Only problem is there’s quite a lot to show. I think the best way for me to cover that time span is to do a long post of pictures with captions in making order as much as possible, and then more detailed posts for things I want to go into detail more on. I generally take quite a lot of photos so I selected the best and as few as possible to present or document the process. I will throw in the odd paragraph where I think its needed, most of that content will be from notes I have kept at the time of making etc.
At the time of my pitch for my ideas for my degree show body of work (October) I wrote that my pitch had gone ok-ish. Ingrid said to me at the time that the context, concept was there but the nub and the physical starting point was not. In my pitch meeting it was suggested that I take something whether visual, concept, data, a subject and use it to make some form. I was not to worry about the subject or connotations of the start point , as it was just a device to get started making the types of forms I wished to create. The starting point does not become what the work is about but rather just a part of the works process. In my pitch I described being inspired by Olarfur Eliasson’s library of forms, a goal we set for me was to begin my own library of forms using ‘fast’ materials and just prototype and develop form ideas that interested me. The main points to then come out of my pitch presentation were:
- An exploration of form.
- I should investigate formalism, minimalism, the post digital aesthetic, microscopic forms, post modern and contemporary architecture.
- Explore a combination of scanned and modeled form…approach the same form from two different aspects.. the digital and the hand crafted.
- Am I specifically interested in working with a digital aesthetic or a non digital one?
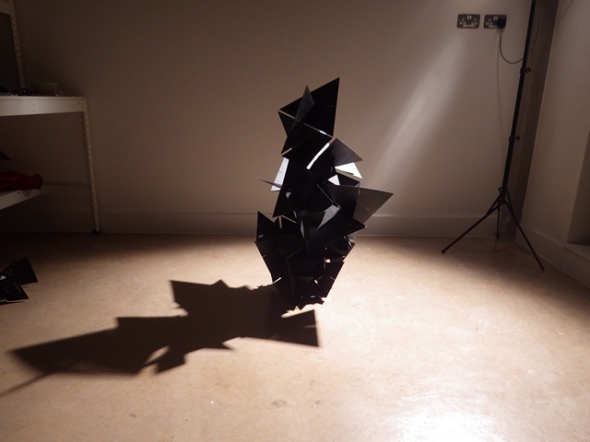
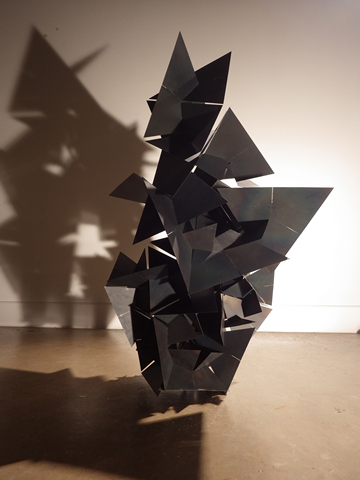
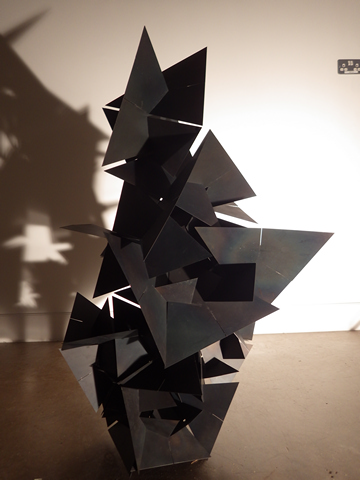
As my formative was approaching I was to get decided to make some ‘fractal’ triangle forms that I had been experimenting with in card and laser cutting. After discussions with Pip and Zoe I decided to make this form as large as I could from a sheet of 8″ x 4″ mild steel. Soon I was well into making a steel ‘triangles’ sculpture and semed to forget all else (hence why I am writing this now).
On the 10th of December straight after my formative assessment I wrote that it had gone well. I wrote that I needed to continue my library of forms (currently doing) and to start scanning them as well as my triangle sculptures to create the ‘skins’ of these objects. This could be done by collecting object point clouds and then using the point clouds to make objects. The objects can then be produced as rapid prototypes. Another more immediate and physical way to do this is to stretch thick stretchy cotton over my forms.
My verbal feedback for my formative assessment happened on the 11/01/2016. Here Ingrid suggested I should be thinking about how my viewer will see my work. Are my works phenomenological forms? a collection of modernist sculptures? what are the contrasts, relationships between the collection of forms, how do the pieces inhabit space? Am i trying to prove anything?
I have a lot to do, a lot of ideas to make, a context to cement and a show to make…
Prepping 3D model for laser cutting.
Posted: February 17, 2016 Filed under: Maker, Subject 3rd Year | Tags: #3-D Printing, card models, laser cutting Leave a commentFor a quick experiment and to work out a work flow for making strange forms that I create in Rhino quickly in reality so that I have a physical model to consider and experiment with. The first I create something in Rhino, with this example I was inspired by Tara Donovan’s (See my post) ‘Untitled Molecule‘ sculpture. So I quickly boolean unioned together load of randomly placed spheres of random sizes. This is just a test.
Once created I then ran the model through a couple different programs to get it to where I can go about laser cutting a quick, low resolution version of the model I designed on Rhino.
Below the steps are illustrated via a series of screenshots of the process.

Rhino was used to really quickly produce a form.

The Rhino model is saved as an stl. file and imported into 123D Make. Here I played with the settings such as card thickness, dowel placement, slice orientation and scale.

From 123D Make with the file saved as dfx. format the sliced model was opened in Illustrator and fitted to art boards. The lines are a mixture of vector and raster (cutting and engraving). The file will be sent to the laser cutter from Illustrator.

As a side thought I thought i would try a small 3D print, so the original Rhino stl. file was opened in Cura where I set up a quick print. This is an experiment to see how the Ultimaker copes with weird geometries. I am interested to see how the intersections between spheres turns out (probably badly). I also need to get used to support structures and how to use them.
Tara Donovan
Posted: February 16, 2016 Filed under: Maker, Subject 3rd Year | Tags: Tara Donovan Leave a comment
Untitled, 2008. Styrofoam cups and glue.
The american sculptor Tara Donovan (1969) makes large scale sculptures and installations that posses a quality that excites and inspires me. The forms and structures that her large sculptures are composed of suggest biomorphic connotations. In the same instance her works appear to be both synthetic and organic all with their own strong characteristics. Some are undulating and bulbous like clouds, sea weed and fleshy entrails in clean, soothing, clinical whiteness. Others are sharper, static and aggressive with long thin protrusions clumped together in a spiky, almost hairy looking mass. They very much remind me of crystal structures, cell growths, geological processes like erosion, deposition, eruption. Some have a sense of growth and appear to want to keep growing, to take over the whole space they inhabit and climb the walls of the room, burst through doorways and windows to engulf the buildings exterior and the surrounding streets! Perhaps if I should see her works in person my opinion would differ…

Untitled, Plastic Cups. This piece in particular reminded me of Ai WeiWei’s work called ‘Straight’ which was composed in a similar format only produced using straightened rusty Re-bar collected from collapsed buildings.


“Untitled molecule”, 2010.
She uses common manufactured material resources to produce her large, biomorphic type sculptures. The materials used include things like paper plates, scotch tape and polystyrene cups.”Known for her commitment to process, she has earned acclaim for her ability to discover the inherent physical characteristics of an object and transform it into art.” – Pace
I feel like Donovan’s sculptures and installations hold a quality that I want my work to possess, I am not yet sure whether this is due to the materials, the scale or indeed the vibrancy of the forms she creates, but I hope I can install a sense of the feeling that I get, when I look at her work, to my audience when they look at mine.

Sand in balloons
Bronze Pour With Irene
Posted: February 16, 2016 Filed under: Maker Leave a commentToday I spent my morning working on some models, investigating some 555 timer circuits and some ideas for some light circuits. Tomorrow I want to sit down and really work through some of the models quickly, and try and make some decisions on material. I know I’m going to start with laser cutting perspex construction systems. But I am also playing with some modular structures and components, with more atomic structure connotations but blown up.
The afternoon saw me in the foundry much of the time between 2 and 5, hot work as usual. The pour attracted quite a crowd for some reason. We were prepping to pour and loads of onlookers piled in to see it. The pour went well, we filled 7 small trees. Irene is a mine of knowledge, and a really good teacher, she taught at the Royal Collage at Battersea, London. She described various things such as testing the bronze for the right consistency and when was good to pour. How to place and support work in the sand pit was demonstrated, we even talked about why ingots are used rather than metal pellets (my question). Before we poured we did a walk through, almost like a performance as paced out the steps and got the hang of the way the crucible grabber worked. Whilst waiting for the second load of metal to melt we went into the office where we watched a film of Irene directing a really large, long pour. The it was to make a huge sculpture that finally weighed in at around a ton, made from 60 or so bronze panels welded together. She knew of Martin Bellwood and so I chatted to her of some of my experience of working at his foundry.
Made By Hand
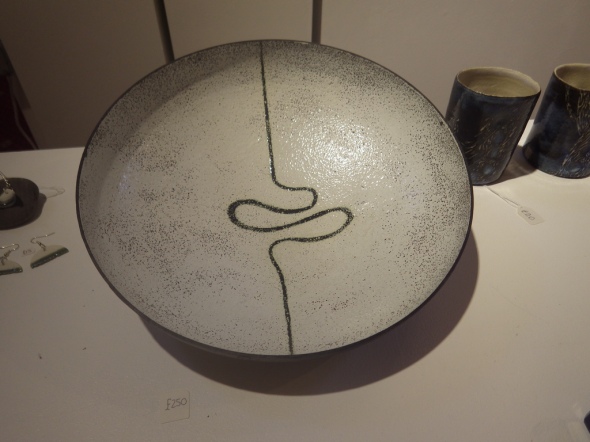
Posted: November 4, 2015 Filed under: Maker | Tags: #enamelling steel 1 CommentMade By Hand is a contemporary Craft fair that is based in Cardiff where it was born. The show is based in the city hall over the course of a 3 day weekend, Friday to Sunday. The show features may makers and craftspeople from around the UK, although from wondering the show I would say most are from Wales or Southern England. Its a bright and vibrant affair which bustles with its plethora of activity, there are people at work demonstrating their skills, artists, craftspeople and makers discussing their work enticing people with the stories and backgrounds of their pieces. There’s music, food, activities and talks – so yes, a lot happening. Some of the stall holders were veterans some young people just starting out trying to get a foothold in the craft world/market. 
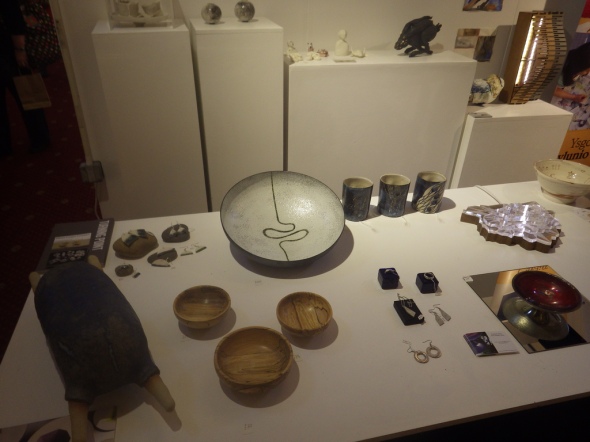
I was able to show a piece of my work at Made By Hand on the Cardiff School of Art and Design (CSAD) stall. This is the first time I have presented my work to sell in a show! I was showing my work alongside other makers and ceramists. There was a fair amount of jewellery and pots and bowls. Some of the more unusual items where Malwina’s (a ceramics exchange student whose work is most popular) strange ceramic creatures that got a lot of attention. I had some people express interest in my work and even got the contact details for a possible commission for a gallery in St Davids, Pembrokeshire. That’s exciting for me! I have emailed the gallery and am now awaiting a response!
As there was a large group of us showing work we all took turns in managing the stall. I had the Friday afternoon, the first day of the show. There was a fair amount of people there, always a stream of people walking by and stopping. I learnt several things whilst manning the stall and compiled those things into a list in my pocket book to consider for future endeavours. The list goes as follows:
- Have business cards! I did not have any and several people out of the many I spoke to asked for one, others would have picked one up to if they were there I’m sure.
- Either fill the wall space of the stall, use it minimally with a strong composition or leave it blank. The back wall to our stall did not look so great in my opinion it needed more up there I think.
- Make packaging PROFESSIONAL and EASY. I did well here, I made a strong well padded cardboard transit box for my steel bowl which was clearly labelled with essential details and an image of the work. Others did not have such great packaging which was difficult to sort through and looked very ‘faffy’ and uncool.
- Organise the storage space of your stall very well and be familiar with it. We spent ages looking for the ledger, then the right box and the right packaging or the other pieces of work in the other range of colours. There is not a lot of space so be tidy and efficient.
- If possible try and be able to accept Cash, CARD and CHEQUE. It was a bit off putting for some people when they needed to pay for higher priced items via cash.
- Everything MUST be priced VERY clearly. Even if its not on display and under the stall in the box, you may end up getting it out, showing it and selling it.
Those where the main points I felt I should look out for next time.
Overall it was a good experience and I got some interest from potential buyers/commissioners! 
Ultimaker2 – My First Print
Posted: October 8, 2015 Filed under: Maker Leave a commentToday I am trying out one of the new Ultimaker2 3D printers in the soft modelling room at the uni. It is reputed by others to be significantly better than the Makerbots with much simpler and user friendly complimentary software. I did not find makerbot software hard to use mind. I am printing an interesting object I found on thingiverse, a Fractal Spiraling Network. Its a hyperbolic object. I am interested in using mathematical and digital means to create complex forms and structures that can be made. I would like to make them with Rapid Prototyping techniques. I hace been looking at parametric design, algorithmic and generative modelling. They are very specific and skilled fields with lots of maths so I need to assess what I would actually be able to do in these areas in terms of learning and my timescales!
Attempt at Pickling Steel with Zinc Coating
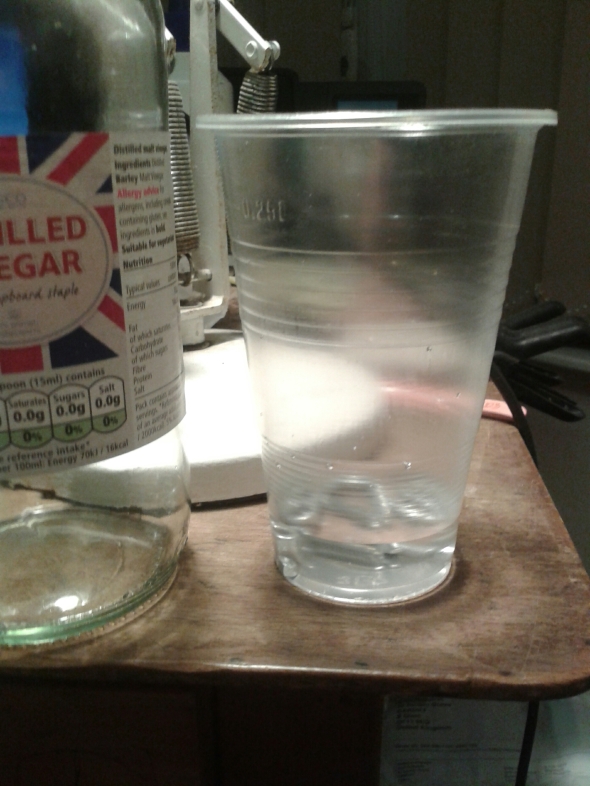
Posted: June 4, 2015 Filed under: Maker Leave a commentAfter some reading around on the internet I came across a way of removing galvination with distilled vinegar so im giving it a go on some of my light fittings… if it doesn’t work I may need to get either sulfuric or hydrochloric acid to do the job instead. (Mix table salt with sulfuric acid to make hydrochloric acid, the first way to produce hydrochloric acid discovered).
How Connected Cars Have Established A New Ecosystem Powered By IoT
Posted: June 2, 2015 Filed under: Maker Leave a commentVirtual Reality, The Empathy Machine
Posted: June 2, 2015 Filed under: Maker Leave a commentThis made me think about the further reaching implications and potential of VR as a tool, as a power for good….or bad…
Rusting Solution
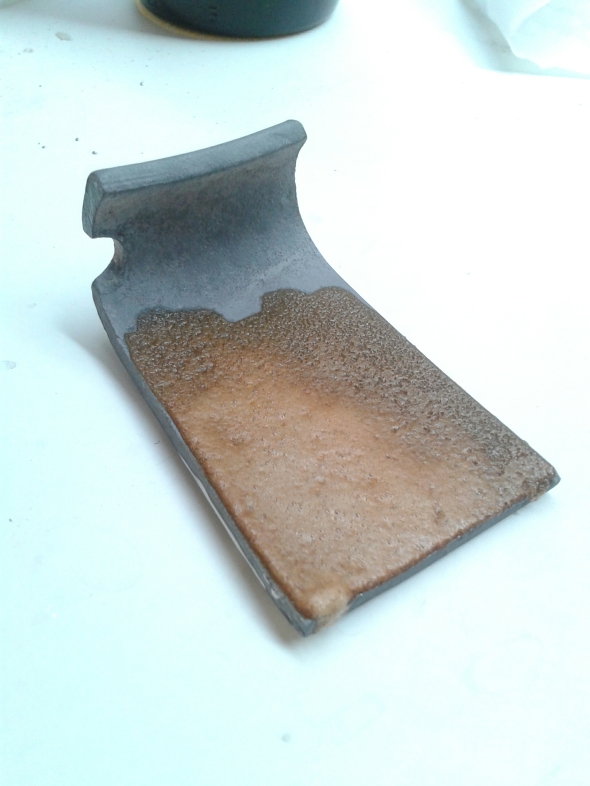
Posted: June 2, 2015 Filed under: Maker, Subject Leave a commentThis is a steel sample that I have tried out my rusting solution on. I want to patina (or maybe just rust in this case) the outside of my steel bowls a deep orange brown colour. I found the recipe online on the website instructables.com where the author of the tutourial suggests using white vinegar (60ml) and a teaspoon of salt to a larger proportion of hydrogen peroxide (450ml). I did not measure but rather guessed the ratio. When applied to the steel via a loaded brush the reaction is startlingly quick, with an audible hiss a bright yellow flares up almost immediately fading more slowly to an orange and then a dull brown.
It has workes very well and I am immensely impressed with the results!









Recent Comments